
The most frequent issue developers have to contend with when it comes to securing communication between different services and devices is the management and securement of credentials, keys, certificates, and secrets within their cloud-native applications. However, storing these credentials, secrets, and keys directly within the application code can expose the app to security threats.
Removing these credentials from the code tightens the application’s security, but now how will you manage these credentials, keys, and secrets? This is where managed identities come into play. Using Managed Identities eliminates the requirements for developers to wrangle all this information manually.
What are managed Identities?
Managed identities remove the overhead of manually managing credentials, secrets, passwords, and keys within the application’s code. Instead, this information is automatically managed within Azure Active Directory (AAD) when connected to resources that support AD authentication. Managed identities can be used to request and receive Azure AD tokens without any requirement to govern credentials, secrets, keys, and passwords. You can perform operations on managed identities using the Azure portal, an ARM template, Azure CLI,Powershell, and REST APIs.
Types of managed identities
System-assigned managed identities
User-assigned managed identities
System-assigned managed identities
You can enable system-assigned managed identities on some of the most commonly used Azure services. Upon enabling within the Azure service instance, an identity is created in Azure Active Directory — the service principal for that service instance.
The identity is also tied to the lifecycle of the service instance, meaning it will be automatically removed when the service instance is deleted or decommissioned. When the identity is deleted, the corresponding service principal is also deleted in Azure AD.
User-assigned managed identities
Another way of using managed identity for Azure resources is by creating a user-assigned managed identity separately and then assigning it as a standalone Azure resource. The best part of this method is that you can assign the same managed identity to more than one Azure service or more than one instance of the Azure service. Because the user-assigned managed identity is created separately, it is not deleted when the Azure resource associated with it is deleted or decommissioned.
How do managed identities work?
Through managed identities, you can request access tokens for the resources that support Azure AD authentication.
Access tokens are received based on the RBAC assigned to them on the resource. Once the resource receives the access token, it can be accessed. The best part is that Azure takes care of rolling the credentials the service instance uses, removing the slightest possibility of password leaks.
How to apply Managed Identities in Automation Accounts
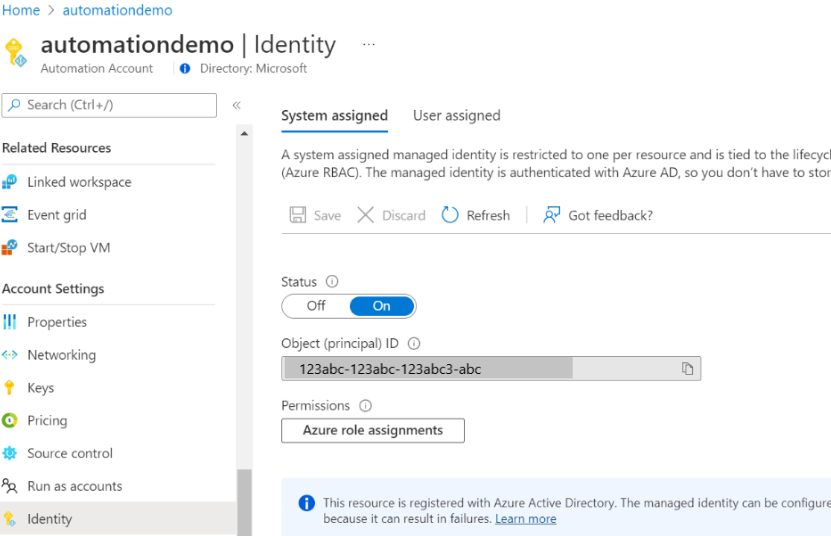
Navigate to “Identity” on the left blade of the automation account. System assigned is selected by default, Turn the status to “On”. A System Assigned Identity will be generated automatically and display the Object ID below.
Next, You will need to identify the scope of permissions that the System assigned identity will need to be able to access in the environment. I prefer to assign a system identity at the management group level so it has access to all child resources in the specified scope; however, best practices suggest to assign with ‘ least privileged access’ permission levels. Keep in mind that an automation account may need to touch many different resources in the environment, so use your best judgement here.
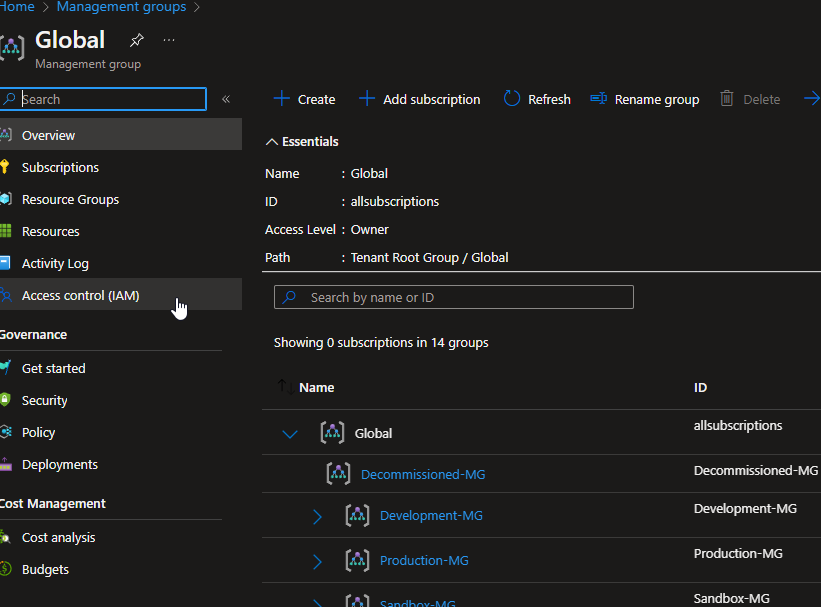
Navigate to the appropriate management group level and select ‘Access Control (IAM)
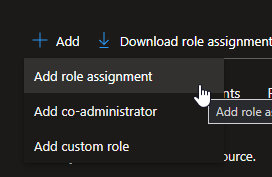
Select ‘ Add Role Assignment’
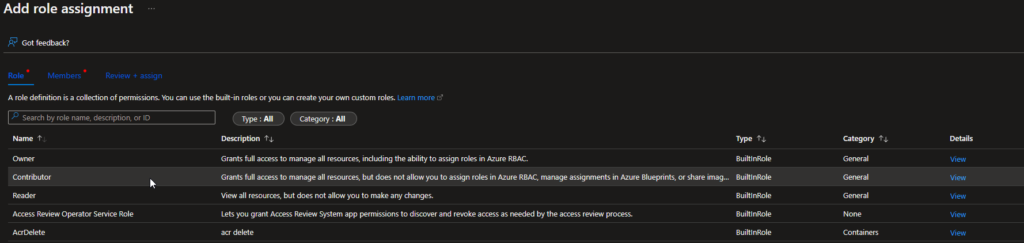
Select the appropriate level of role access for the managed identity. When created a System Managed identity for an automation account, it will be unknown in the future what those runbooks may be used for, so you will want to give the identity a broad enough level of access for runbooks to be designed to work in the future. In most cases, ‘Contributor’ level access is appropriately scoped.
Under Members, select ‘ Managed Identity’

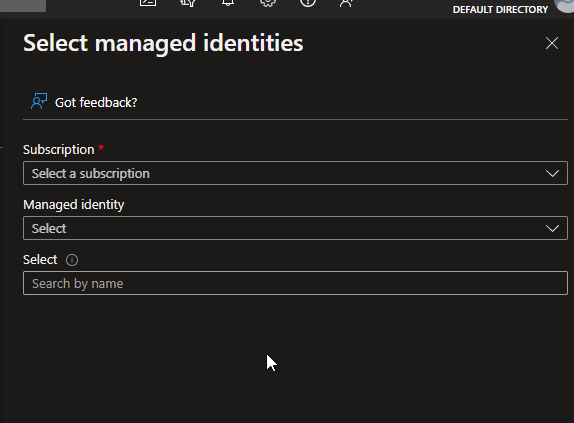
click ‘ Select Members’ and a blade will appear on the right, navigate to the subscription where the automation account lives and select the managed identity, then click apply.
Once the managed identity role permissions have been applied, the set permission levels will now appear in the assigned scope of of the identity in the automation account.

Using a System Managed Identity in a Runbook
This is a much simpler method than using a “Run As” Account in a runbook. The only code that is needed at the beginning of a runbook to log into Azure is…
Connect-AzAccount -IdentityThat’s It!
You could even wrap this command inside of some parenthesis and assign it to a variable to select an Azure subscription directly. Make sure to disable saving the the selected subscription in your code. It’s not TOTALLY needed if you’re referencing just one subscription. But the runbook will produce an annoying error message noting that it’s saving the subscription context, so to remove that, use the ‘Disable-AzContextAutosave’ command.
# Ensures you do not inherit an AzContext in your runbook
Disable-AzContextAutosave -Scope Process

# Connect to Azure with system-assigned managed identity
$AzureContext = (Connect-AzAccount -Identity).context

# Set and store context
$AzureContext = Set-AzContext -SubscriptionName $AzureContext.Subscription -DefaultProfile $AzureContext